
Welcome to the Toyota Sewing Machine Instruction Manual, your essential guide to mastering this versatile and practical sewing machine. This manual provides clear instructions for setup, threading, and maintenance, ensuring optimal performance and helping you achieve professional results in every stitch;
Overview of the Manual’s Importance
This manual is essential for understanding and utilizing your Toyota sewing machine effectively. It provides detailed guidance on setup, operation, and maintenance, ensuring safety and optimal performance. By following the instructions, users can troubleshoot common issues, adjust settings, and master various stitching techniques. The manual serves as a comprehensive resource, empowering sewers of all skill levels to achieve professional-quality results and extend the lifespan of their machine.
Key Features of the Toyota Sewing Machine
The Toyota sewing machine is renowned for its versatility, durability, and user-friendly design. It features a wide range of specialized stitches, precise tension control, and an automatic needle threader for convenience. The machine is built to handle various fabrics, from delicate textiles to heavy-duty materials. Additional accessories, such as interchangeable presser feet, enhance its functionality. Its robust construction ensures long-lasting performance, making it a reliable choice for both beginners and experienced sewers.
Understanding the Machine Components
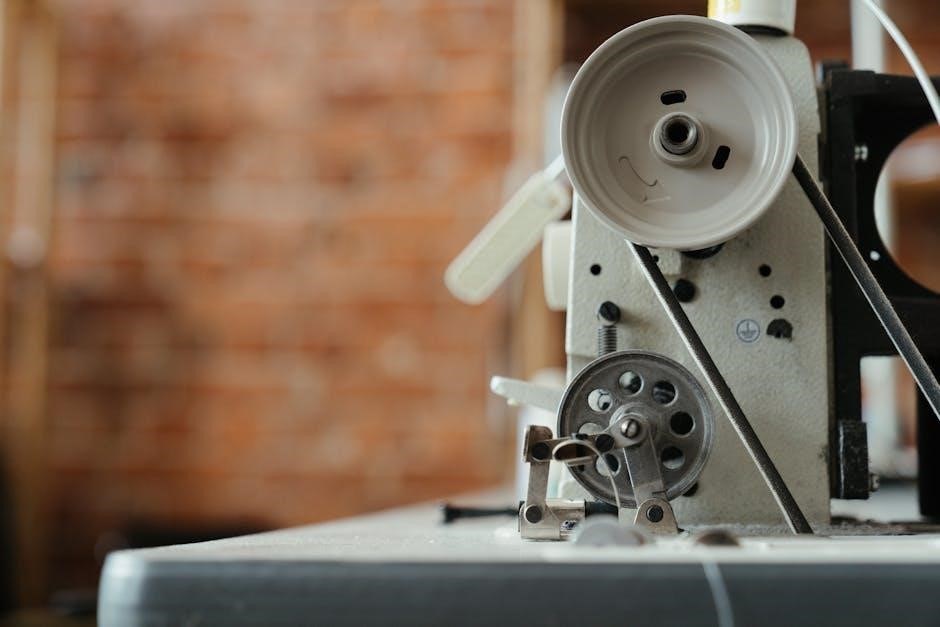
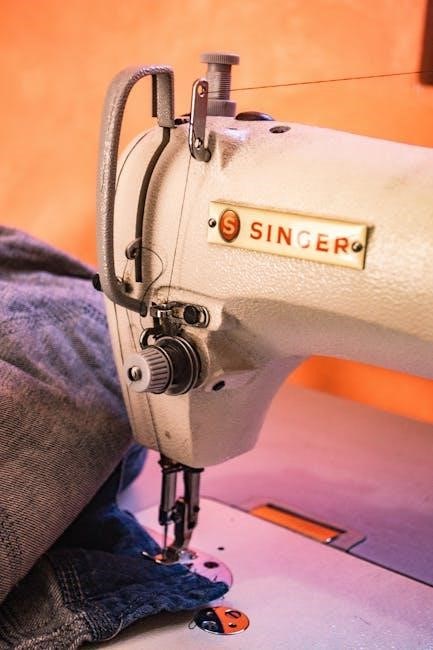
Familiarizing yourself with the Toyota sewing machine’s components is crucial for effective operation. Key parts include the spool pins, tension dials, and presser feet, each serving specific functions. Understanding their locations and roles aids in troubleshooting and maintenance, ensuring smooth sewing experiences.
Naming and Locating Parts
Identifying the components of your Toyota sewing machine is the first step to mastering its use. Key parts include the spool pins, tension dials, and presser feet. The spool pins hold the thread, while the tension dials regulate stitch tightness. The presser feet are essential for fabric control. Locate these parts by referring to the manual’s diagrams, which provide clear labels and visuals to help you understand their positions and functions.
Additional components like the bobbin case, handwheel, and stitch selectors are also crucial. The bobbin case holds the lower thread, while the handwheel allows manual needle control. The stitch selector enables you to choose different stitching patterns. Familiarizing yourself with these parts ensures efficient operation and troubleshooting when needed; Always cross-reference with the manual for accurate identification and usage guidance.
Accessories Included with the Machine
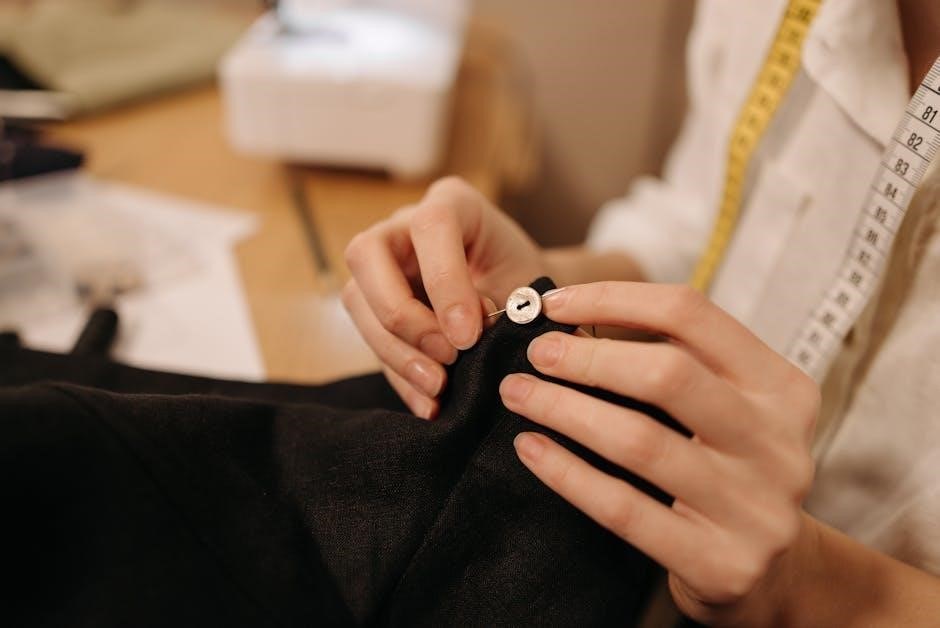
Your Toyota sewing machine comes with essential accessories to enhance your sewing experience. These include bobbins for winding thread, presser feet for various stitching needs, and a set of needles. Additional accessories like a seam ripper, screwdriver, and extra spool pins are also provided. These tools ensure you have everything necessary to start sewing immediately. Refer to the manual for a detailed list and descriptions of each accessory to make the most of your machine’s capabilities.
Safety Precautions and Setup
Ensure safety by turning off the machine before threading or changing needles. Keep the workspace clear and well-lit. Always follow the manual’s guidelines for proper setup and operation.
Essential Safety Guidelines
Always turn off the sewing machine before threading, changing needles, or cleaning. Keep loose clothing and long hair tied back. Avoid touching sharp parts like needles and cutters. Ensure the workspace is well-lit and clear of clutter. Never leave the machine unattended while it is operational. Keep children and pets away from the machine. Use the power switch to completely stop the machine before any maintenance or adjustments. Follow all safety precautions outlined in the manual to ensure safe and efficient operation.
Preparing the Workspace
Ensure your workspace is clean, stable, and well-lit. Place the sewing machine on a sturdy table, away from direct sunlight to prevent glare. Use an anti-slip mat to keep the machine steady. Keep essential tools, like scissors and threads, within easy reach. Maintain a clutter-free area to avoid accidents and ensure smooth operation. Properly organize your fabrics and patterns to maximize efficiency. A well-prepared workspace enhances your sewing experience and helps you achieve precise results with ease.

Threading and Tension Adjustment
Proper threading and tension adjustment are crucial for smooth stitching. Follow the manual’s step-by-step guide to thread the machine correctly and adjust tension for optimal results.
Step-by-Step Threading Process
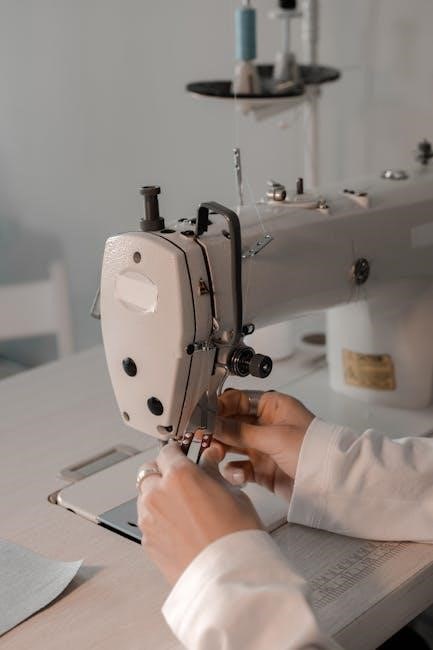
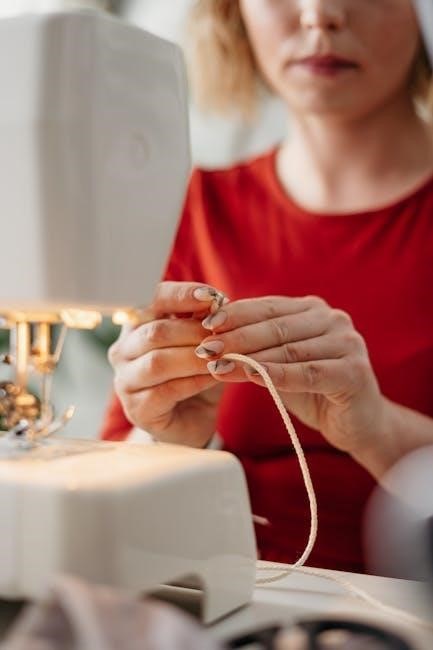
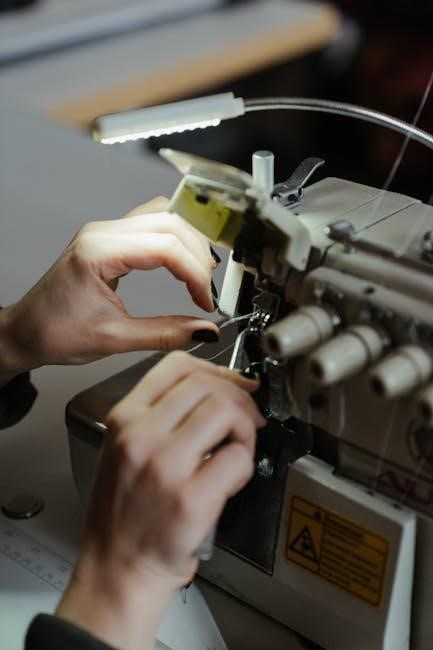
Start by turning off the machine and locating the spool pin. Gently pull the thread from the spool and guide it through the tension discs. Insert the thread into the take-up lever, ensuring it clicks into place. Pull the thread gently to Remove any slack. Cut the excess thread near the spool. Next, thread the bobbin and insert it into the bobbin case. Finally, pull the thread to draw up the lower thread. Follow these steps carefully for proper threading.
Adjusting Thread Tension for Optimal Stitching
Proper thread tension ensures even stitching and prevents fabric puckering. Start by checking the upper thread tension by gently pulling it; it should feel snug but not overly tight. For the bobbin thread, insert it into the bobbin case and pull gently to check resistance. Adjust the tension dials on the machine if necessary, making small increments and testing on a scrap fabric. Balanced tension is key for consistent stitching quality and smooth sewing performance.
Basic Stitching Operations
Master the fundamentals of stitching with the Toyota sewing machine. Learn to start your first stitch, select the right stitch type, and ensure smooth, consistent fabric flow for professional results.
Starting Your First Stitch
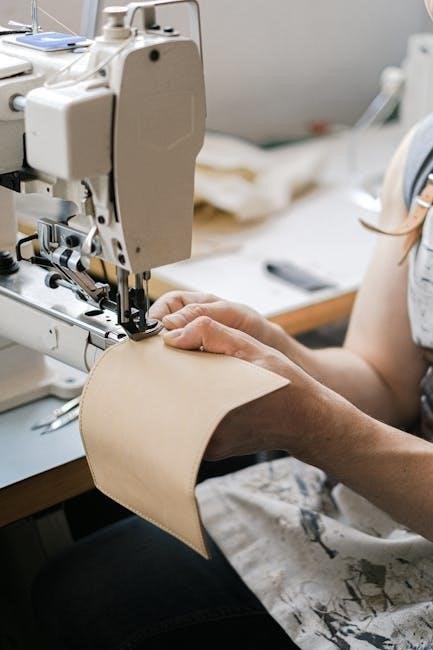
Begin by ensuring the machine is turned off and the area is clear. Locate the power switch and press it to start. Align your fabric under the needle, ensuring it is smooth and evenly positioned. Select the straight stitch option for your first attempt. Gently press the foot pedal to begin sewing, guiding the fabric steadily. Start with a slow, consistent pace to maintain control and achieve a straight line. Always backstitch at the beginning and end for secure stitching.
SELECTING THE RIGHT STITCH TYPE
Selecting the right stitch type is crucial for achieving the desired results. Use the straight stitch for basic sewing and lightweight fabrics. The zigzag stitch is ideal for stretchy materials and preventing fraying; Decorative stitches add a creative touch, while the reverse stitch reinforces seams. Adjust stitch length and width according to fabric thickness and desired effect. Always consult the manual for specific stitch recommendations and settings to ensure optimal performance and professional-looking results.
Troubleshooting Common Issues
Common issues like thread breakage or uneven stitching can be resolved by checking thread tension, ensuring proper threading, and consulting the manual for tailored solutions.
Identifying and Solving Thread Breakage
Thread breakage is often caused by incorrect tension, improper threading, or using the wrong needle size. To resolve this, check the thread path for tangles, ensure the needle is correctly inserted, and verify that the tension settings are balanced. If the issue persists, consult the manual for specific guidance on adjusting tension or replacing worn-out parts to restore smooth stitching performance and prevent further breakage.
Fixing Tension Imbalance
Tension imbalance can cause uneven stitches or fabric pulling. To fix this, check the upper and lower thread settings, ensuring they are evenly balanced. Adjust the tension dials on the machine, starting with small increments and testing the stitch quality. If the issue persists, refer to the manual for specific tension adjustment guidelines or consider professional calibration to restore balanced stitching and optimal sewing performance.
Maintenance and Care Tips
Regular maintenance ensures optimal performance. Clean the machine thoroughly, lubricate moving parts, and inspect for wear. Proper care extends the life of your Toyota sewing machine.
Cleaning the Machine
Regular cleaning is essential to maintain your Toyota sewing machine’s performance. Turn off and unplug the machine before cleaning. Use a soft, dry cloth to wipe down the exterior and remove dust or debris. For stubborn stains, dampen the cloth slightly but avoid harsh chemicals. Gently clean the bobbin area, feed dogs, and stitch plate, ensuring no lint or thread remnants remain. Regular cleaning prevents dust buildup and ensures smooth stitching. Always refer to the manual for specific cleaning instructions.
Lubricating Moving Parts
Regular lubrication is crucial for maintaining the smooth operation of your Toyota sewing machine. Use high-quality sewing machine oil to lubricate moving parts, such as the bobbin hook and tension discs. Apply a few drops of oil to the specified areas, as indicated in the manual. Avoid over-lubrication, as excess oil can attract dust and cause mechanical issues. After lubricating, run a few test stitches to ensure the machine operates smoothly. Always refer to the manual for specific lubrication points and recommendations.
Advanced Sewing Techniques
Explore advanced stitching, specialized fabrics, and customization options to elevate your sewing projects. Mastering these techniques enhances creativity and precision, ensuring professional-quality results.
Using Specialized Stitches
The Toyota sewing machine offers a variety of specialized stitches for decorative, functional, and heavy-duty sewing. From intricate embroidery patterns to reinforced straight stitches, these options allow for precise fabric manipulation. Use the stitch selector to choose between stretch stitches for knits, overlock stitches for seam finishes, or decorative stitches for embellishments. Adjust stitch length and width to suit your fabric type, ensuring professional-quality results for every project. Experiment with these stitches to enhance creativity and versatility in your sewing endeavors.
Handling Different Fabrics
The Toyota sewing machine is designed to work seamlessly with various fabrics, from delicate silks to heavy-duty canvases. Adjust stitch settings according to fabric weight and texture for optimal results. Use the walking foot for thick fabrics like denim or leather, and the Teflon foot for smooth stitching on silks or vinyl. Experiment with needle sizes and thread types to ensure compatibility with your fabric choice, achieving professional-grade seams every time. Proper fabric handling enhances both creativity and efficiency in your sewing projects.

Mastering the Toyota sewing machine enhances your sewing experience, ensuring optimal performance and precise stitching. Follow the manual for troubleshooting and maintenance to maximize efficiency and creativity in your projects.
Final Tips for Maximizing Sewing Efficiency
To maximize sewing efficiency with your Toyota machine, ensure regular maintenance, proper threading, and accurate tension adjustment. Use appropriate accessories for specific fabrics and keep your workspace organized. Always prepare fabrics before sewing to avoid wrinkles and misalignment. By following these tips, you’ll achieve professional results and extend the machine’s lifespan. Happy sewing!